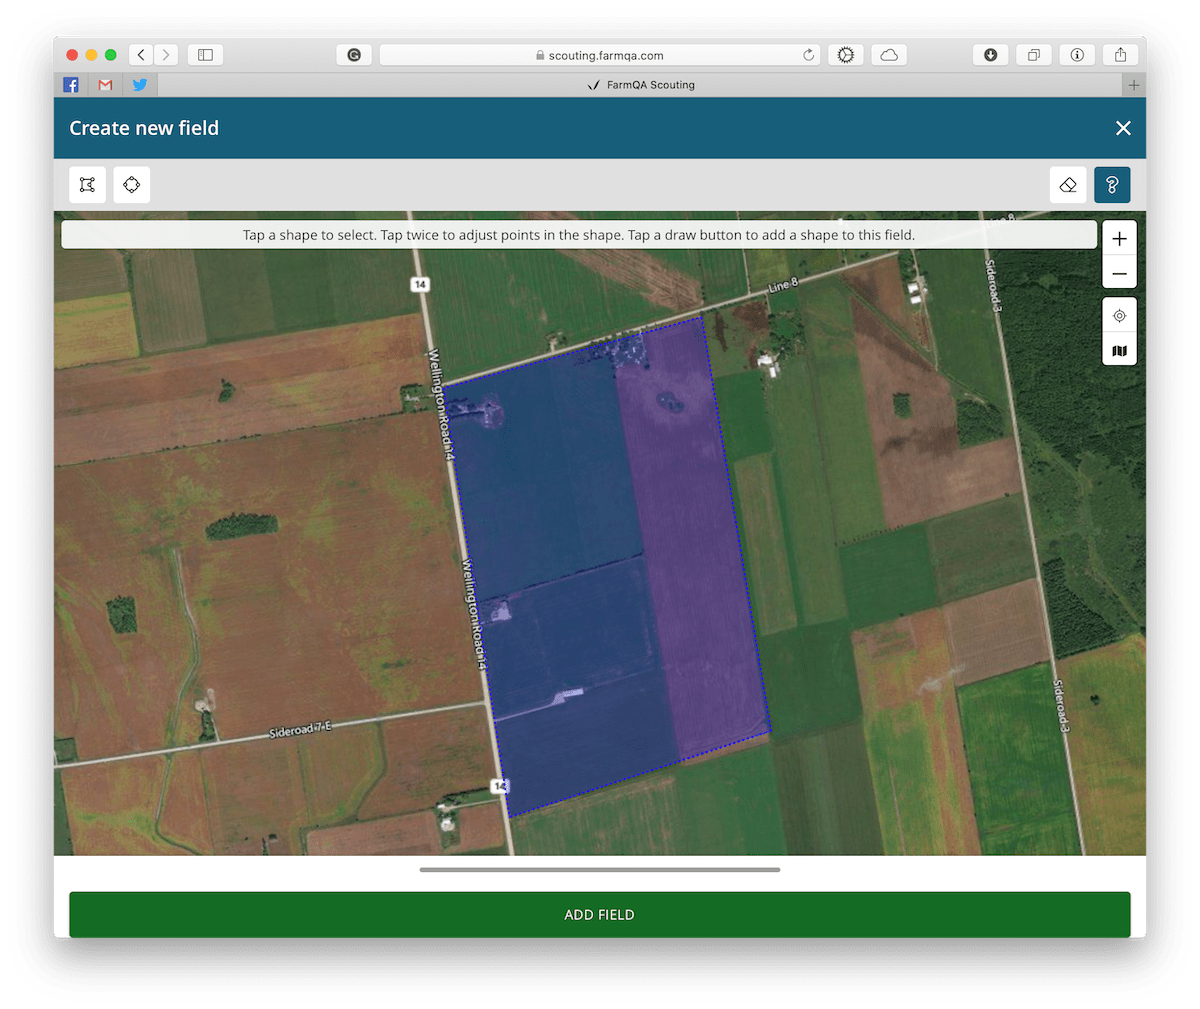
Field mapping is an important part of successful scouting and reporting. Here is 3 tips to make the most of field mapping with FarmQA.

With FarmQA Scouting’s field creation tools you can easily create fields for your growers and their organization. If you have a large number of fields that are already in a digital format, we also offer the ability to import both shapefiles, and KML files. Email info@farmqa.com for more information on importing shapefiles.
To start drawing a field in FarmQA Scouting, go to the map view, then tap on the ‘+’ floating action button and tap “Field”. For more step by step instructions, see Creating fields in our support articles.
Draw the Rough Shape First, Then Refine
-
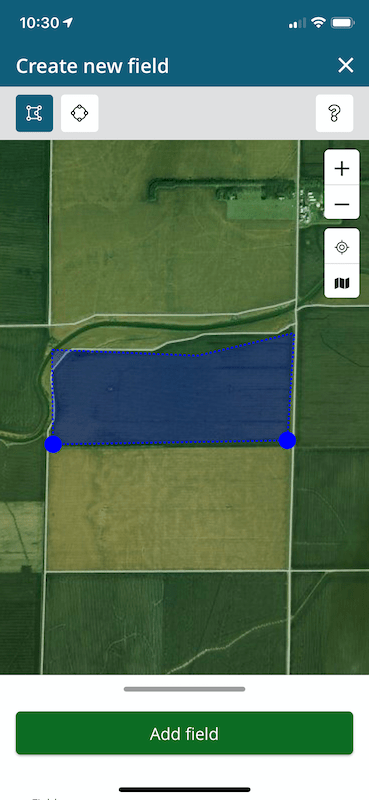 Use the Polygon tool to draw the rough shape first. Then, work on refining it. In this first image, only the rough outline of the field has been drawn. When using the polygon tool, just tap the vertices and finally, don’t forget to close it by tapping the first point again.
-
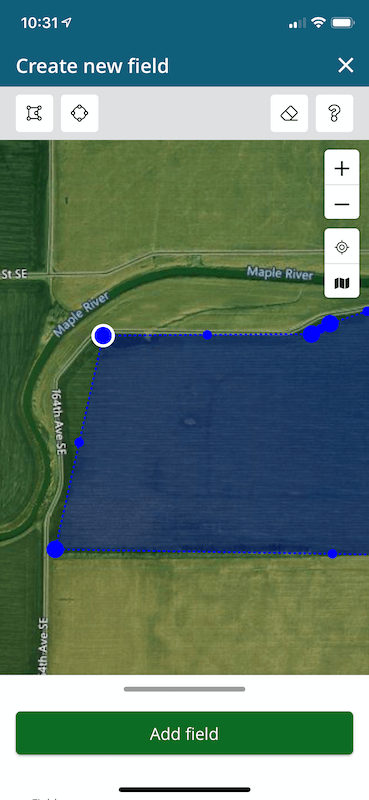 After the initial polygon is created, you can now select points and create new points. To select a point, just tap on it. It will highlight with a white circle. Now you can drag it around and also zoom and pan the map. To create a new point, tap a midpoint and drag it to a new location. To erase a point, just select it, then tap on the eraser tool in the toolbar.
-
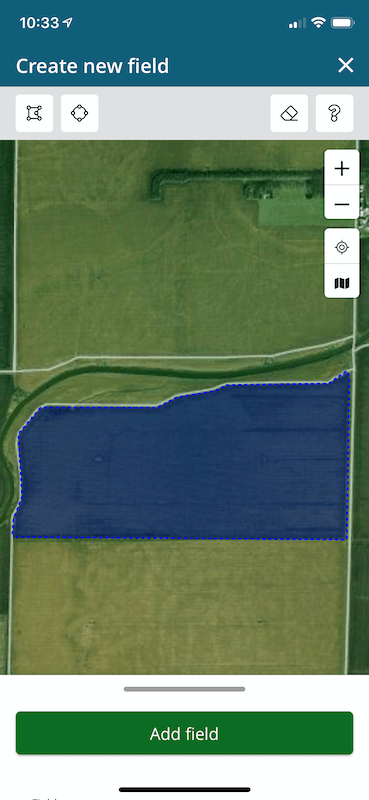 After you have refined the shape, tap outside of the shape to see the outline.
Drawing Fields with Multi-polygons
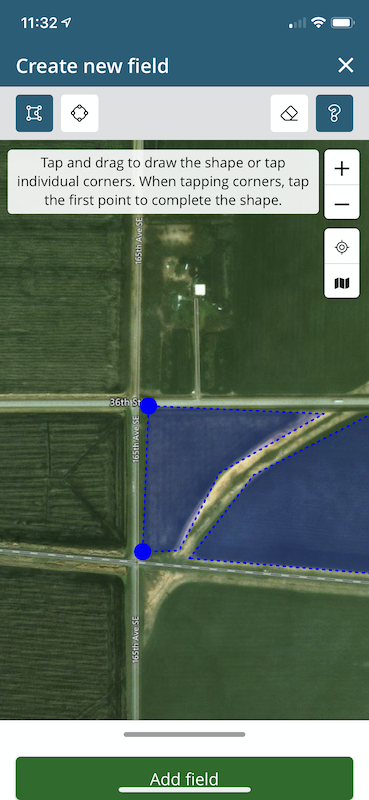
Wouldn’t it be nice if all fields were rectangular? I’m sure that you have many fields that have drainage or a river running through the field. In these situations, we also allow multi-polygon fields to be created; however, you must take care to not overlap any of the polygons. After creating the first polygon for the field, make sure it is not selected (you can tell it is not selected because it doesn’t show any large points) and choose the polygon tool again. Now draw the second polygon as you did the first. When you save the field, both polygons will be part of the field.
Use a Computer
Many times, using the mobile device to create fields can be difficult. FarmQA Scouting is also available within a web browser. Just go to scouting.farmqa.com, log in just like you would in the application and start creating fields.
